While there is no groov Manage API access to the 4 port groov EPIC Serial Communication Module (yet - and if you need it, please please let me know!), Node-RED talks to the module just fine. Here is how to get started.
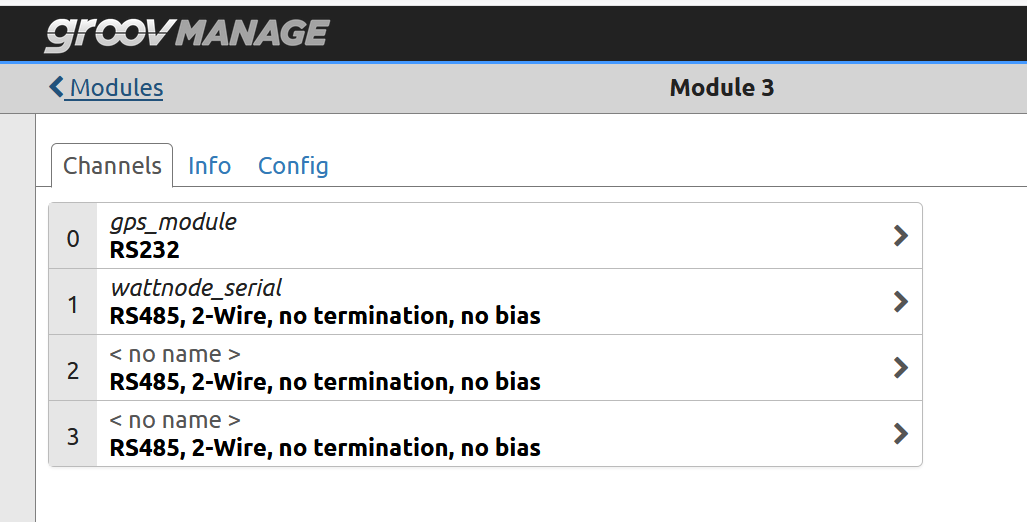
Use groov Manage to set the serial port type. This is important as its the only way (without using a PAC Control strategy) to set the serial port mode and termination if required.
Next, open up the Node-RED editor and head over to the manage palette menu and install the ‘serialport’ node(s).
I tested the receive node with an RS-232 GPS receiver that I happen to have sitting on my desk.

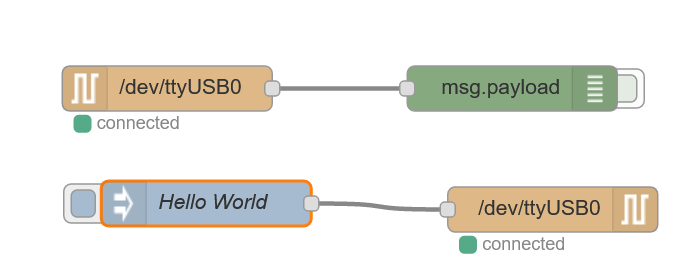
It is as simple as it looks to get started.
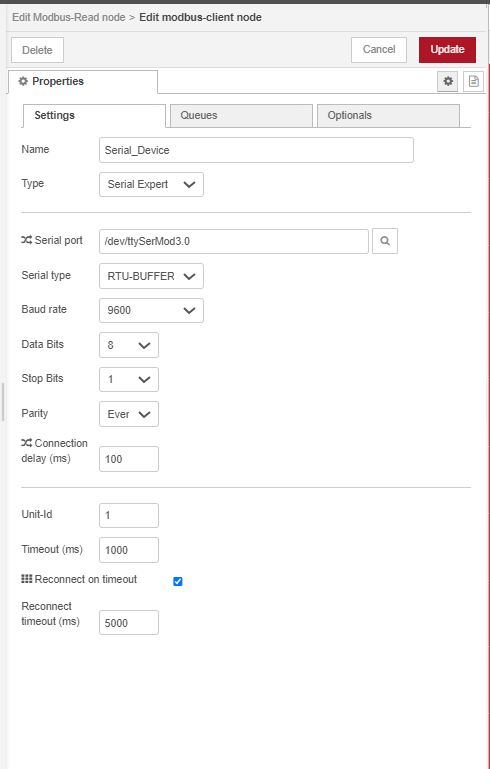
Drag the input (receive) node over. Add a new serial port, see this forum post here for more information on their names.
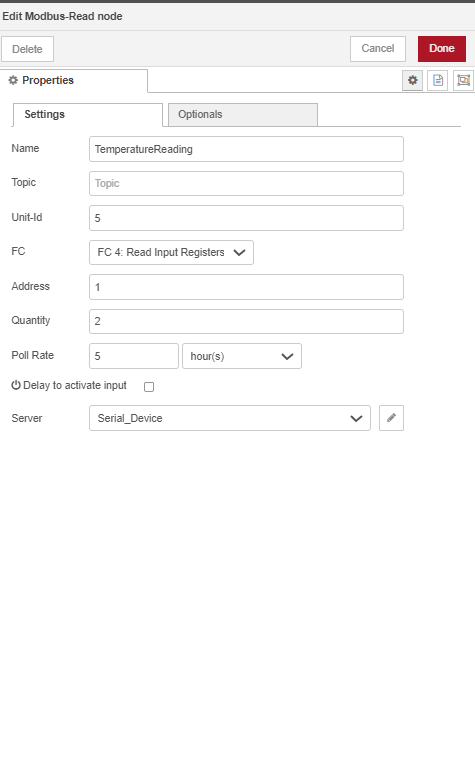
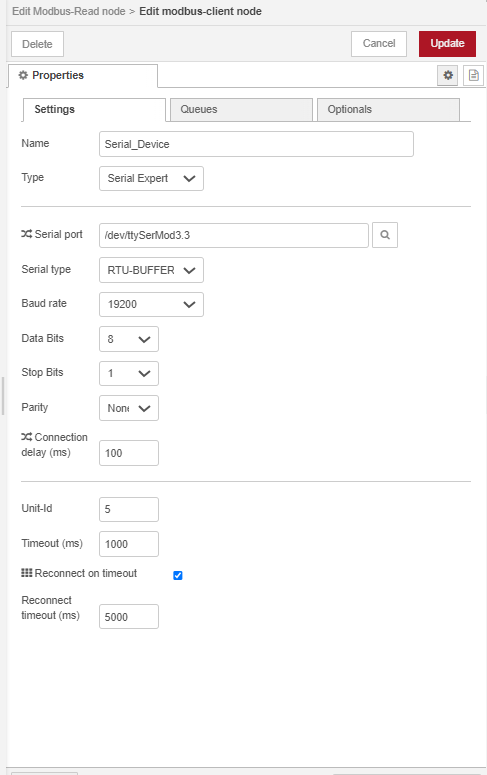
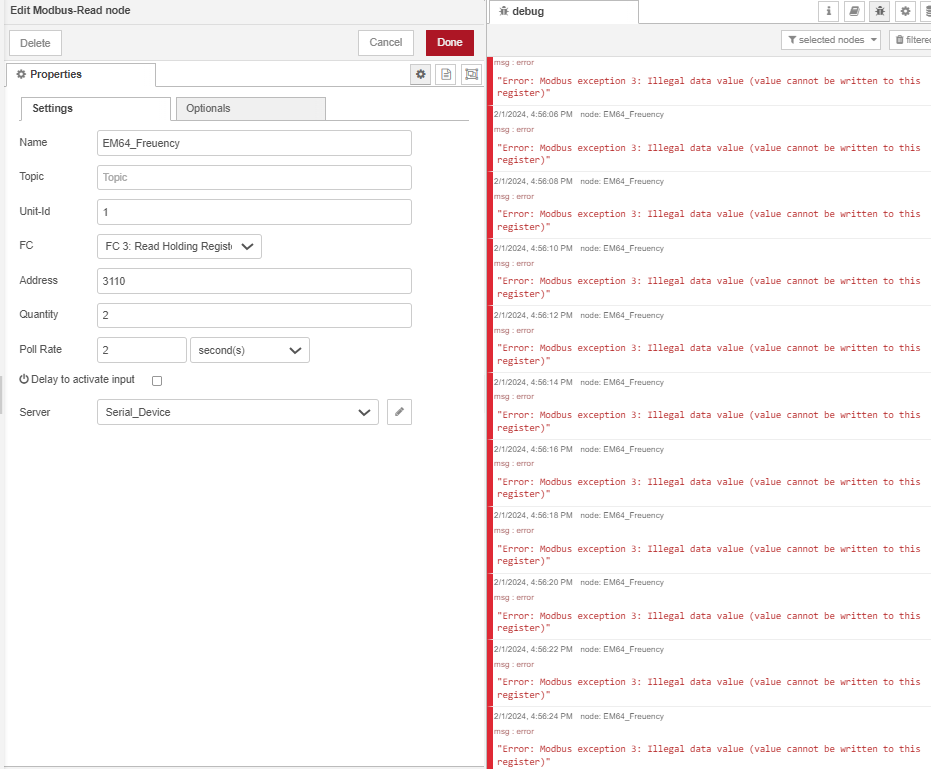
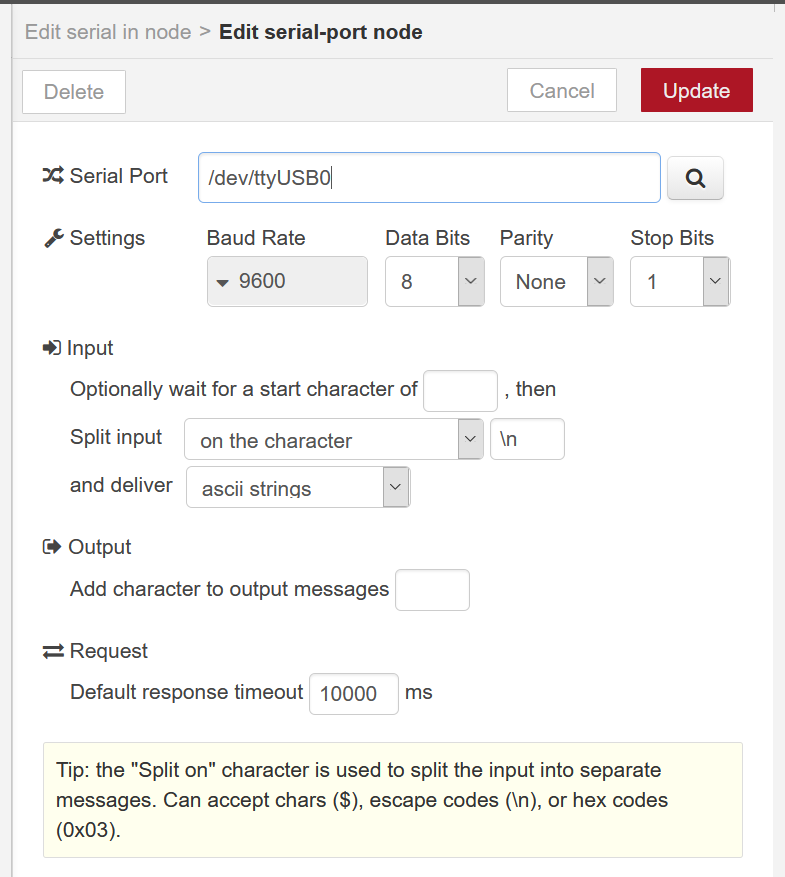
Configure the baud rate, stop bits and parity.
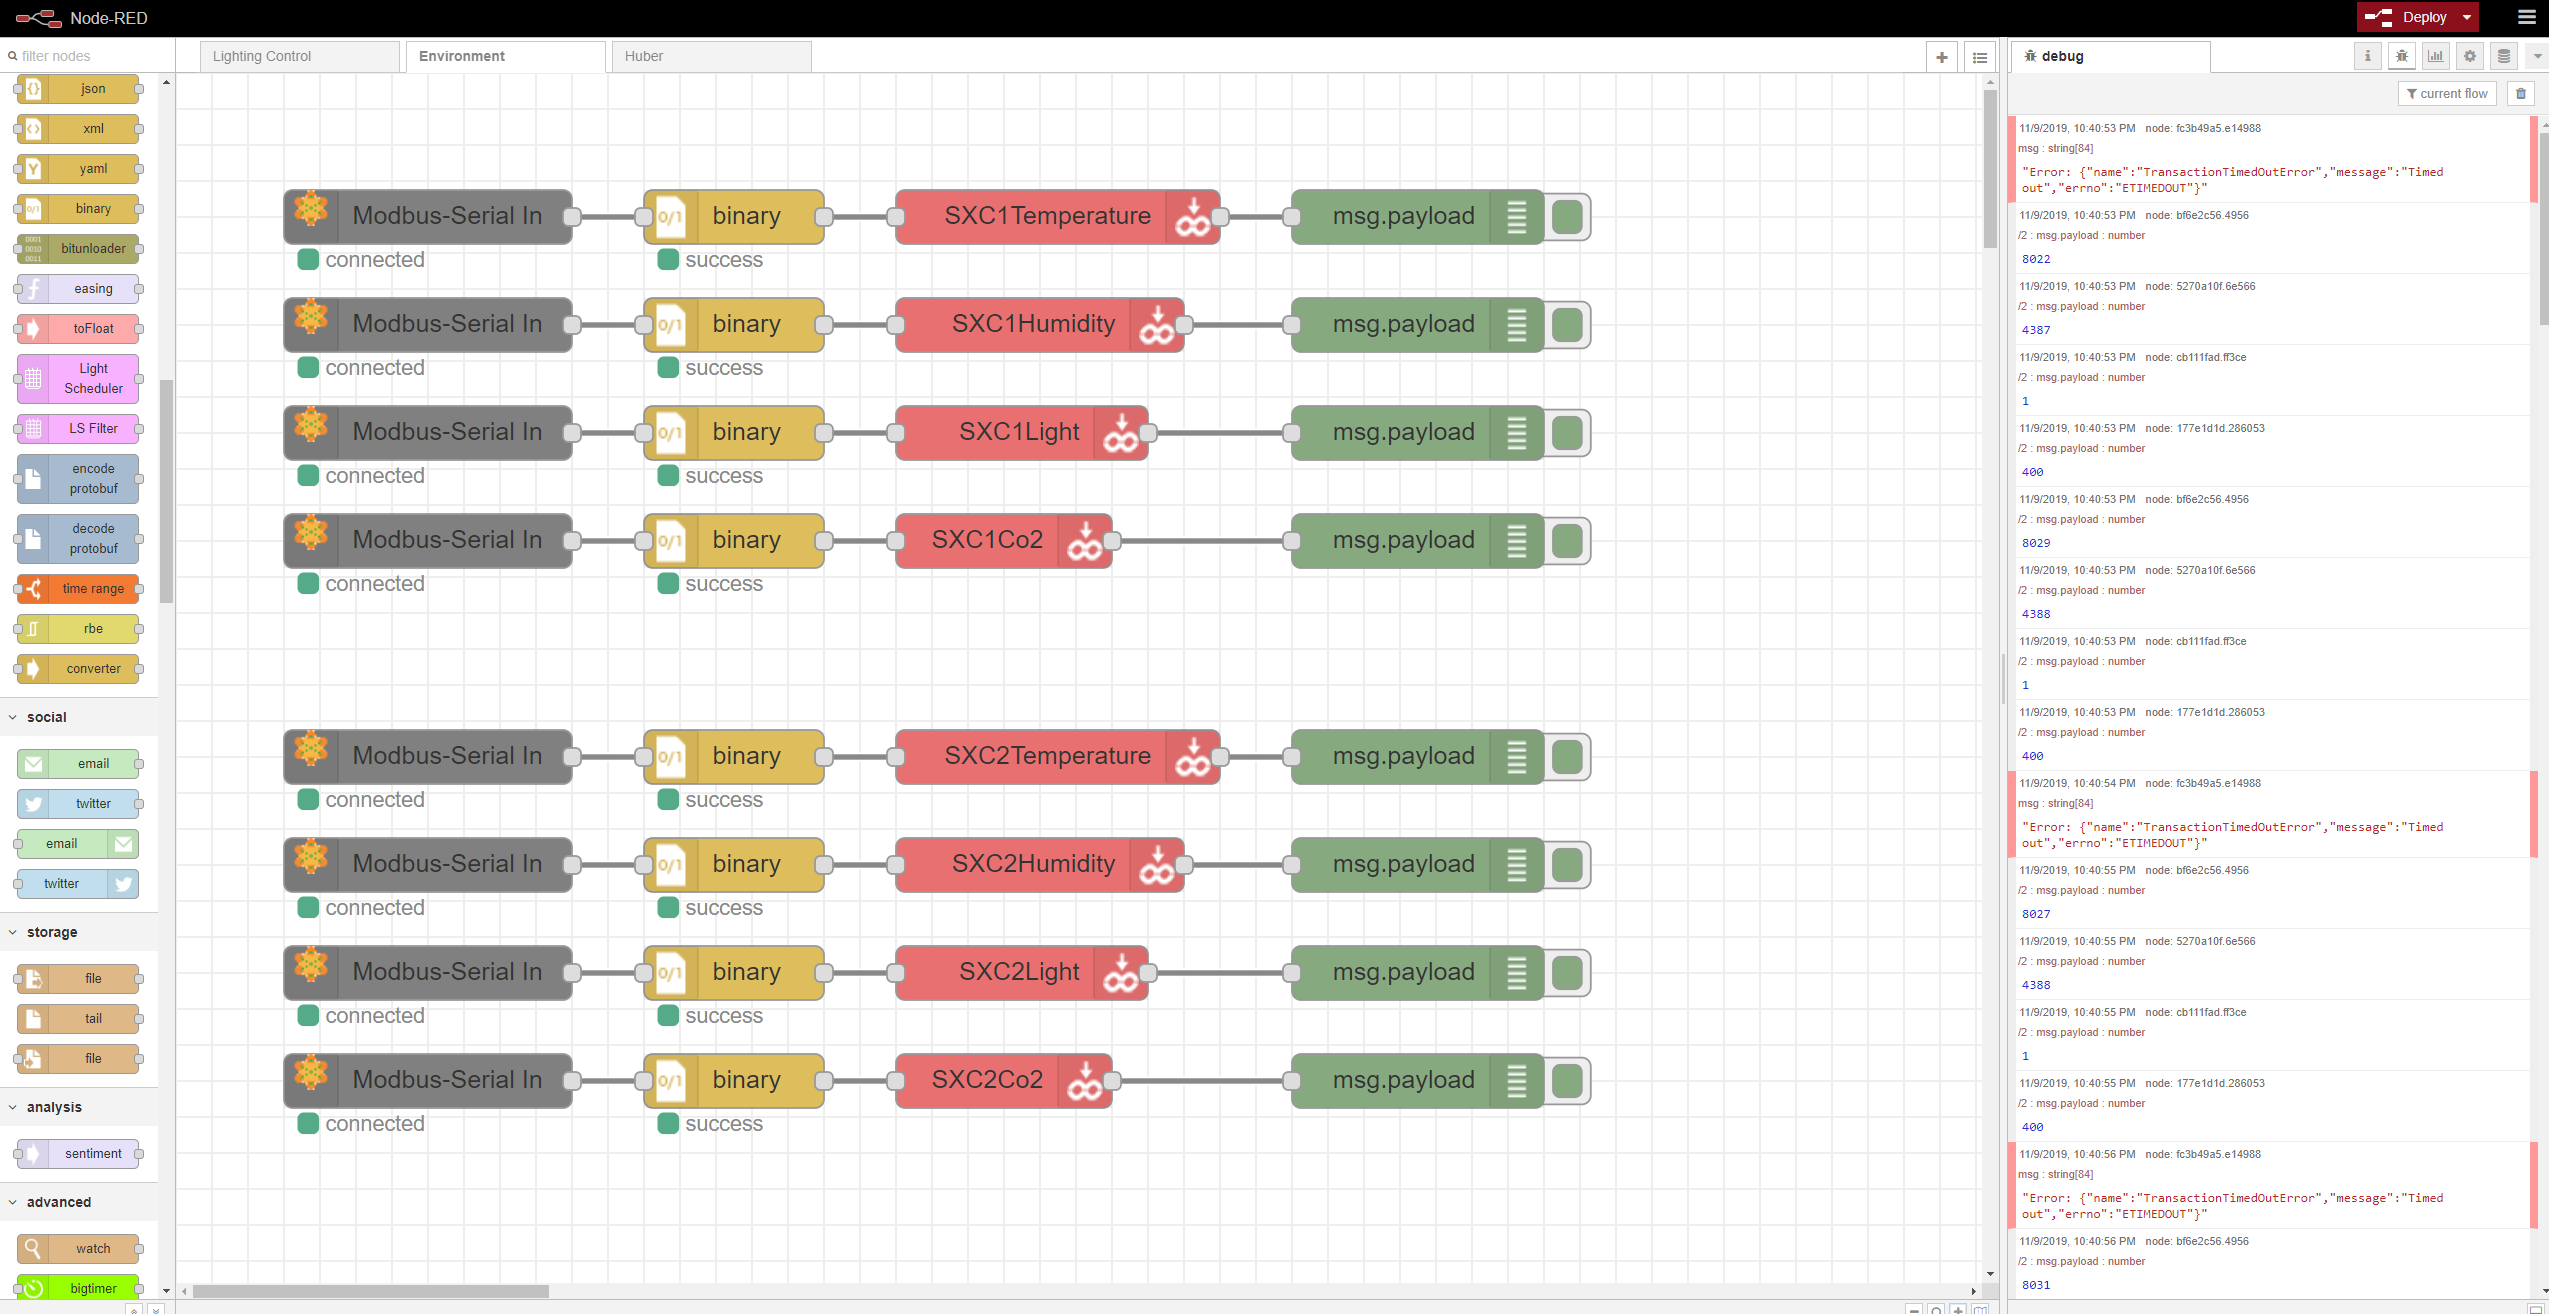
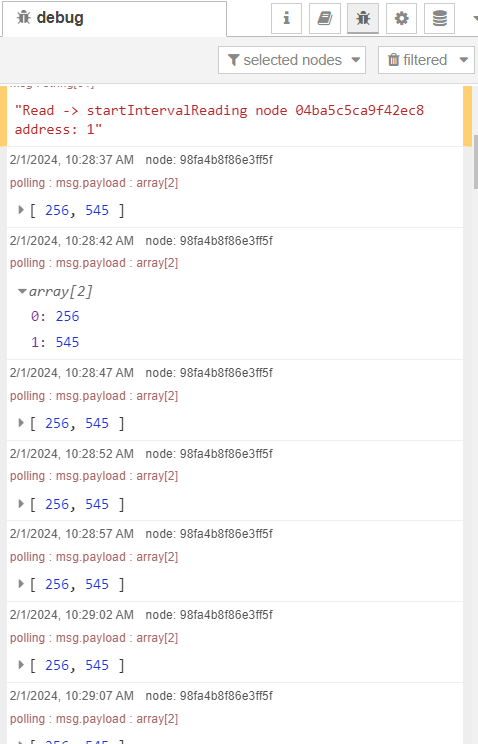
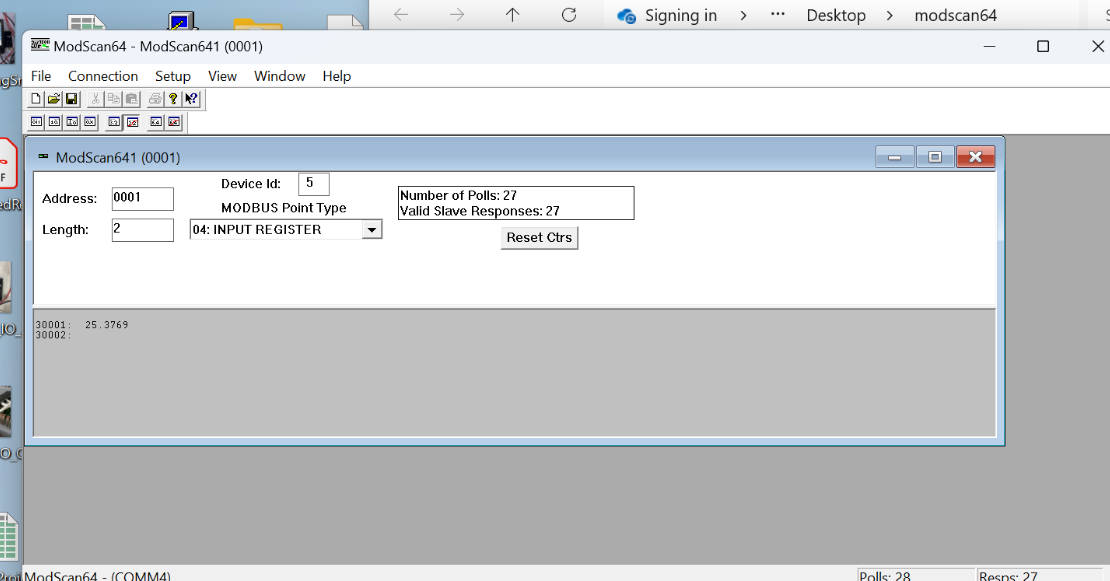
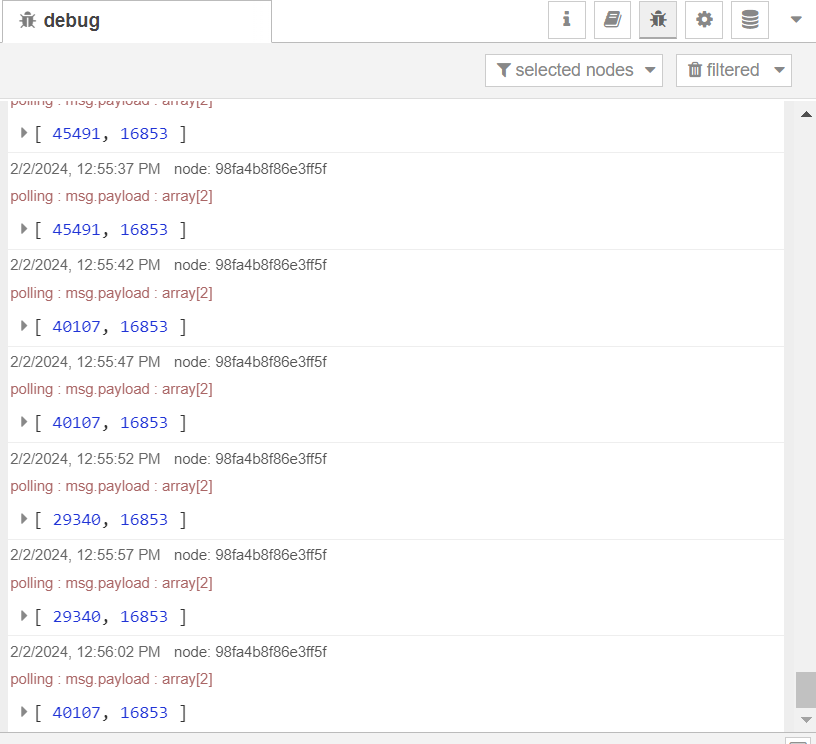
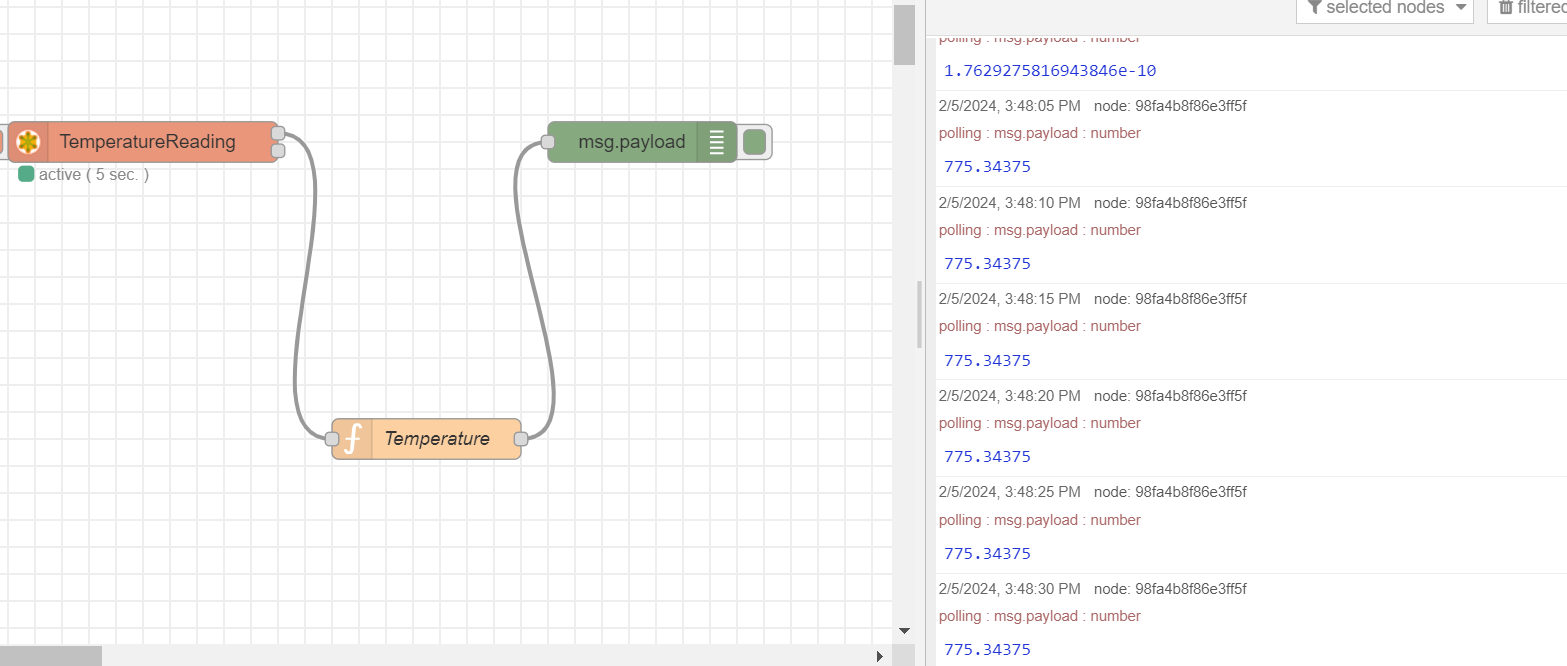
From here you are up and running and can start to see the data you have coming in.
Sending data is much the same.
Drag the serial send node over and inject (for a test) your message.
From here, you have the basics to get started sending and receiving data from the GRV-CSERI-4.
[Note that this is very (very) similar to using the USB to Serial adapter as mentioned in this forum post here].
From here you are kind of only limited by your imagination and Node-RED skills.
For example, you could open a groov EPIC firewall port and listen for http data coming in that you wanted sent to the serial module… sort of like a home spun API if you will.
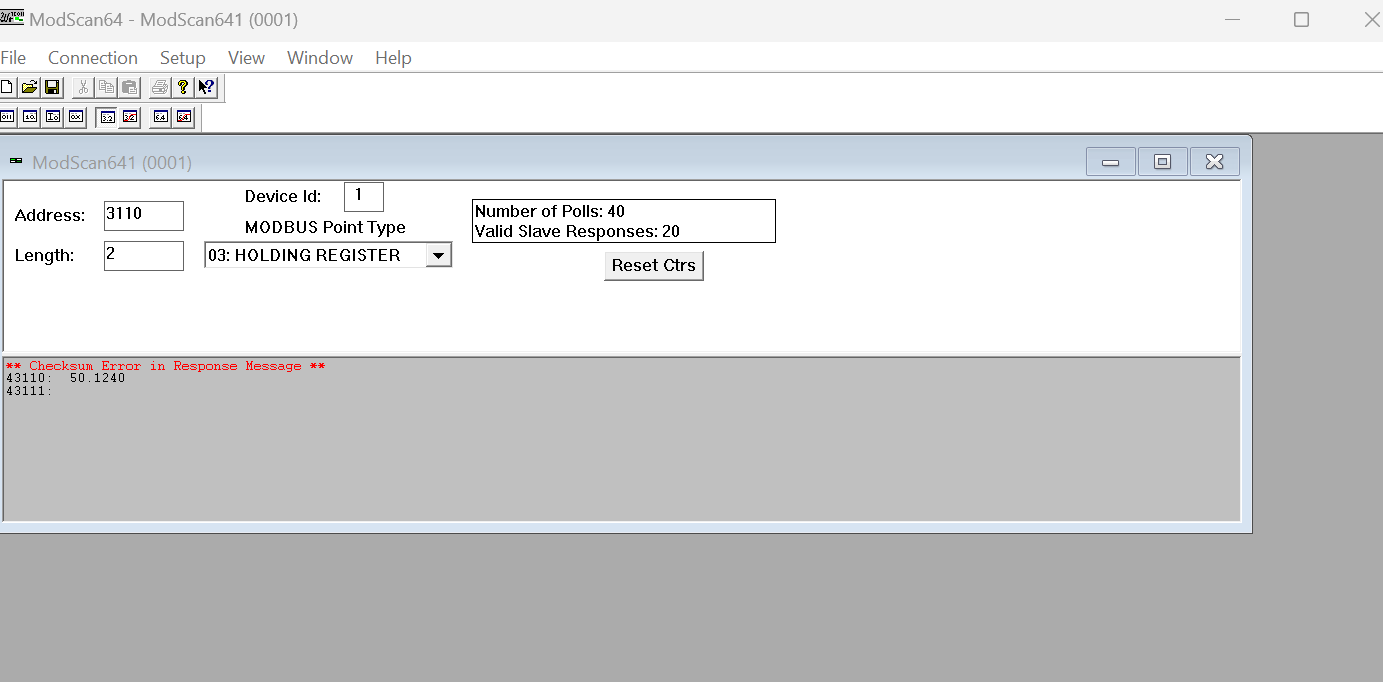
IMPORTANT EDIT. I have found that if you run Node-RED and PAC Control with serial commands addressing the same serial port, you get undesired results. So in short, pick one method and stick with it.