Computed tags in groov View are perfect for quickly transforming some data to either a different unit (e.g. °C → °F) or to a different data type entirely, like integer 0/1 → Boolean true/false.
In this post I’ve written up how to expand on this using the JavaScript case-switch statement to turn a range of values into a status. In this example I am using integers and strings respectively, but this could work for any data type on either end just by modifying the input and output.
Here’s the result:
In this example the top slider is tied to an integer for testing, but this could easily be the output of a machine, and the status string is a computed tag that reads in the state and sets a human-readable value for the HMI.
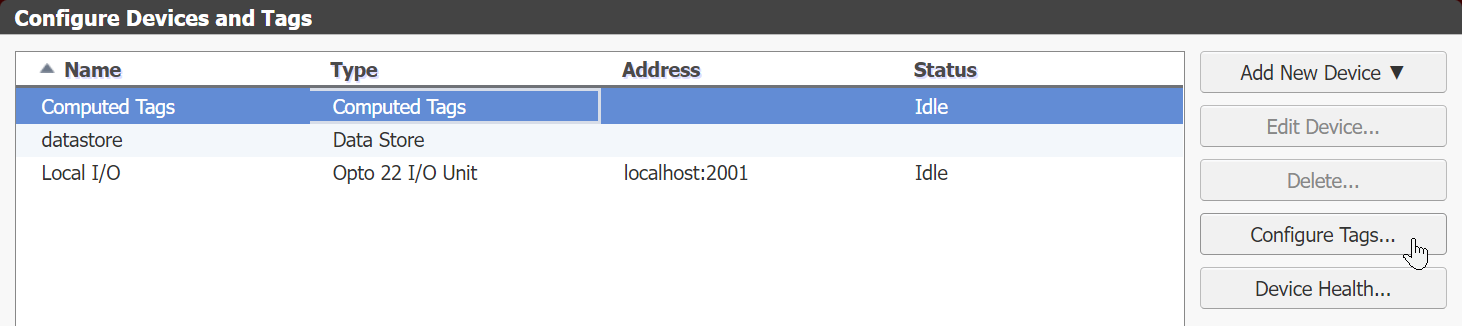
To set this up yourself, start by opening Configure Devices and Tags, select Computed Tags, then Configure Tags…
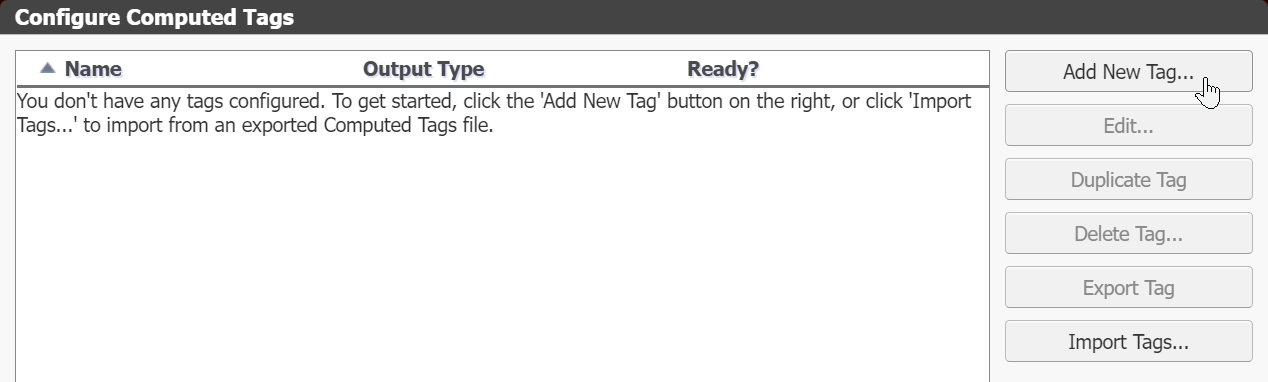
That will open a new pop-up where you Add New Tag…
The next step has a few parts: first, give the computed tag a name, it should be descriptive of what the output is. After that you’ll need to name and set the input, to keep this simple I used “input” to be associated with my state integer. Next to that field, select Choose Tag and navigate to the input tag. Make note of what the value type is, for example if you read in a Boolean when you’re expecting an integer, the code will not work the way you expect.

The last thing before getting to the code is setting the output type:
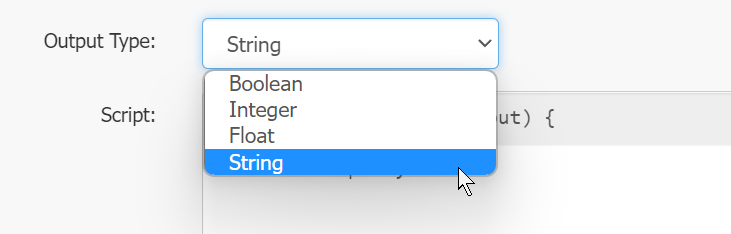
Finally, enter the case-switch statement. This will check the input and write a specific value to the output string depending on the input value, and finally return that value which sets the “status”.
You can expand the code block using the handle in the bottom right corner to see everything at once (the code text will be pasted at the end of this post for you to copy/paste).
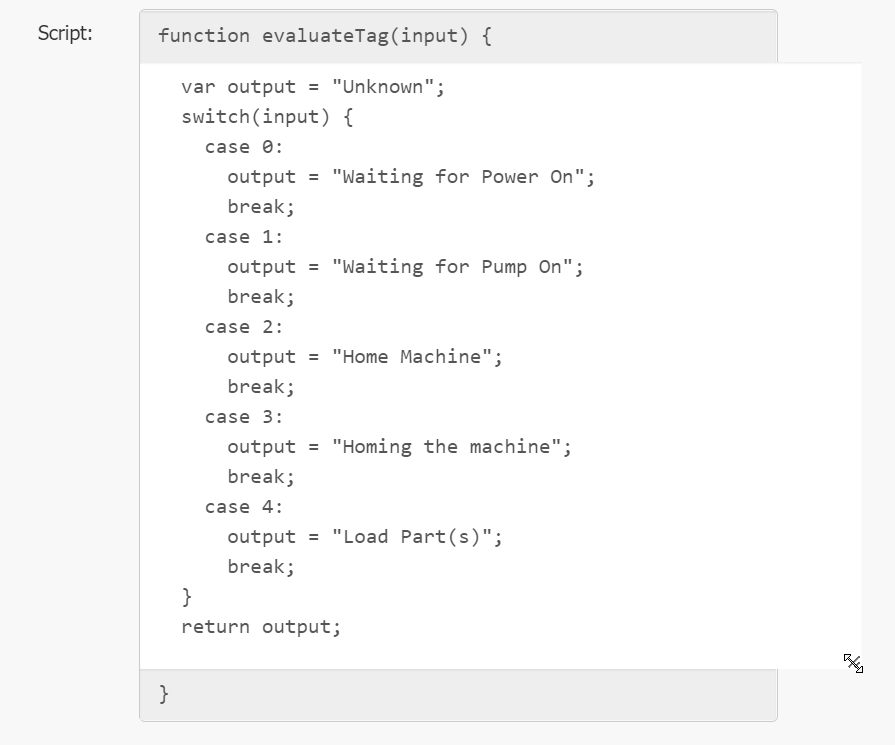
To modify this for your own application you can just edit what each case _ is, add or remove cases following the above format, and of course change the output string for each.
The first line function evaluateTag(input) { and the last } are both fixed and cannot be changed, think of them as a header and footer for the JavaScript code, and make sure you have a return statement, as that’s what the status computed tag is going to be set by.
Once you have all this set up and saved, just drag in a gadget for the computed tag and you’re set to go!
If you end up using this in your own groov View project, or have any questions about how it works, please drop a line in the thread below. And as always, happy scripting!
COMPUTED TAG CODE:
  var output = "Unknown";
  switch(input) {
    case 0:
      output = "Waiting for Power On";
      break;
    case 1:
      output = "Waiting for Pump On";
      break;
    case 2:
      output = "Home Machine";
      break;
    case 3:
      output = "Homing the machine";
      break;
    case 4:
      output = "Load Part(s)";
      break;
  }
  return output;